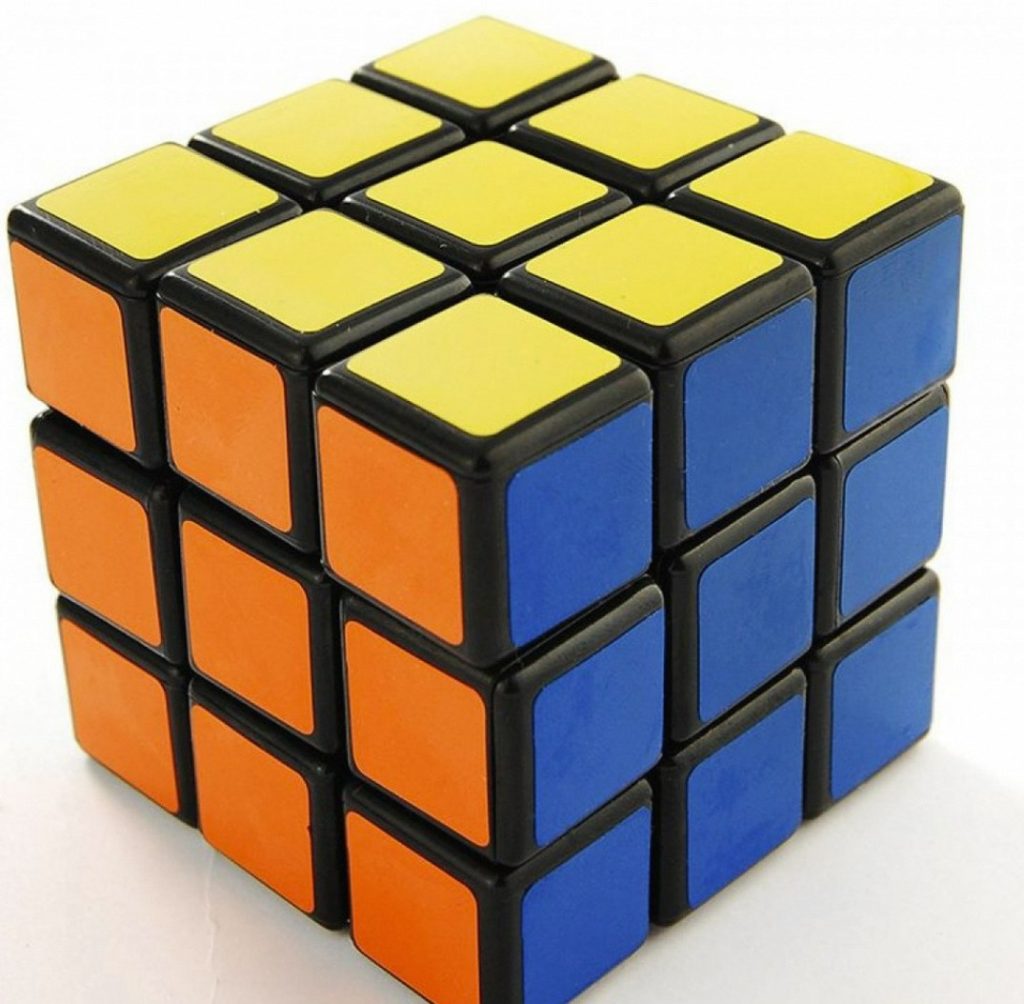
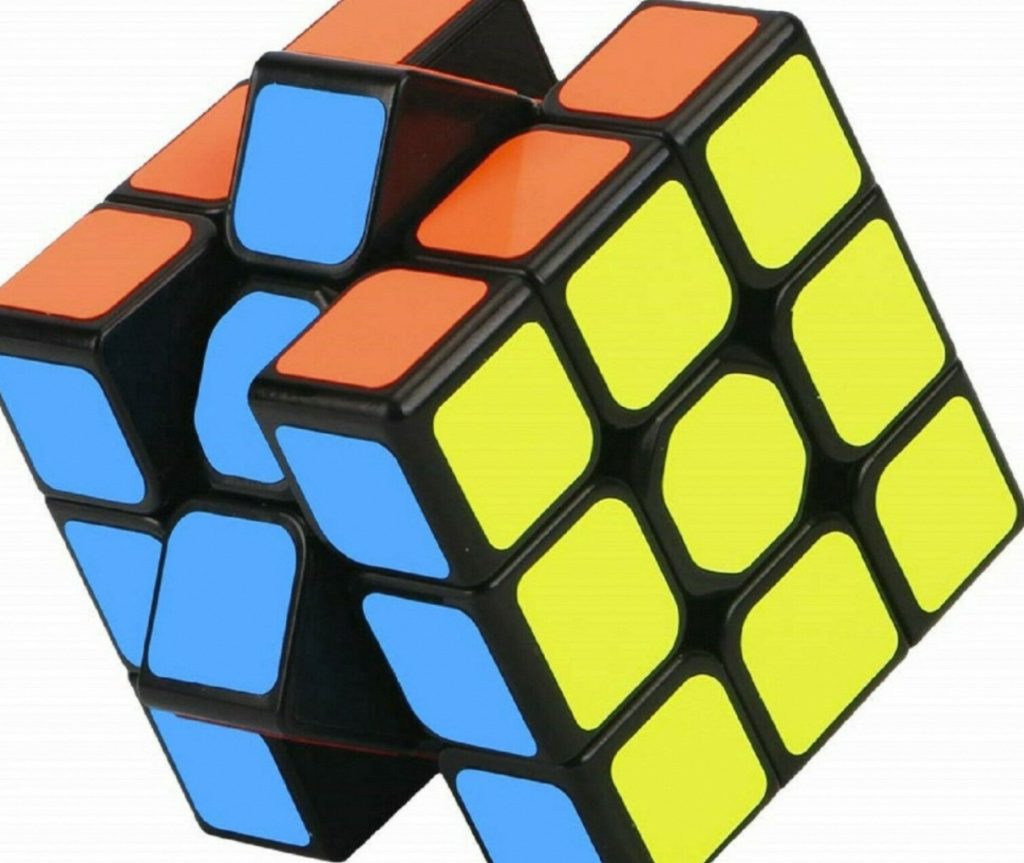
The 2×2 Rubik’s Cube, also known as the Pocket Cube, might seem intimidating at first glance. But fear not, cube enthusiasts! With a little practice and this beginner-friendly guide, you’ll be solving this miniature marvel in no time. This guide breaks down the solving process into four manageable parts, making it easy to learn and remember.
Part 1: Getting Started (2 Steps)
Orientation:
Before you dive into solving, familiarize yourself with the cube’s notation. Each face (top, bottom, front, back, left, right) is represented by a capital letter (U, D, F, B, L, R). A prime symbol (‘) indicates a counter-clockwise turn, and a number 2 represents a double turn (equivalent to two single turns).
Initial Observation:
Before diving into the process of solving the Rubik’s Cube, it’s essential to take a moment to carefully analyze the scrambled cube. At this stage, there’s no need to fret about memorizing complex algorithms. Instead, focus on identifying any pieces that are already in their correct positions. Paying attention to these correctly placed pieces will serve as the foundation for building the solution. By establishing this foundation, you can simplify the problem and begin forming a clearer strategy for the remaining pieces. This approach not only reduces the complexity of the task at hand but also provides a sense of direction as you work towards solving the cube. Ultimately, by starting with an analysis and a focus on the correctly positioned pieces, you can build the confidence and understanding necessary to progress towards finding the optimal solution for your scrambled Rubik’s Cube.
Part 2: Taming the Top Layer (2 Steps)
Positioning the Corner Pieces:
Our goal is to arrange the top layer’s corner pieces (pieces with three colored sides) so that each color matches the corresponding center piece on the top layer. Here’s a simple trick: locate a corner piece that has at least one color matching the top face. Using a series of intuitive rotations, maneuver this corner piece to its designated spot on the top layer, ensuring the colored sides align with the center pieces. Repeat this process for all four corner pieces.
Orienting the Corner Pieces:
Once the corners of the Rubik’s Cube are correctly positioned, the next step is to ensure they are facing the correct direction. While there is a specific algorithm for this task, there’s no need to be concerned about memorizing it verbatim at this stage of your learning process. Simply follow these steps to orient the corners effectively:
First, identify a corner that is not oriented properly. Then, face that corner towards the back left-hand side of the cube and perform the algorithm. This sequence of moves will reorient the corner without displacing any of the pieces you have already correctly positioned. By following these steps, you will effectively ensure that all corners are correctly oriented without the need to burden yourself with memorizing complex algorithms at this initial stage. As you continue practicing and familiarizing yourself with the cube, the algorithms will become more intuitive and easier to remember over time.
Identify a misplaced corner piece.
Hold the cube with the misplaced corner in the front-top right position. Perform the following sequence: (R U R’ U’) – repeat this 2 or 3 times until the corner is oriented correctly. (Remember, R is a clockwise turn of the right face, U is a clockwise turn of the top face, and the prime symbol denotes a counter-clockwise turn).
With a little practice, you’ll be able to intuitively perform this sequence to fix any misplaced and misoriented corner pieces on the top layer.
Part 3: Conquering the Last Layer (2 Steps)
Positioning the Last Layer Edges:
Solving the Rubik’s Cube involves placing the edge pieces on the last layer. These edges have two colored sides. To solve this, first find an edge piece with a color matching the bottom layer. Then, rotate the top layer until this edge lines up with its slot on the bottom. Finally, use a series of top layer moves to maneuver the edge piece down into its correct slot.
This process should be repeated for each of the four edge pieces on the last layer. By following this systematic approach, one can intuitively navigate through the placement of the edges, gradually aligning them with their respective slots and contributing to the overall progression in solving the Rubik’s Cube.
Orienting the Last Layer Edges:
Similar to the corners, some edges might be positioned correctly but facing the wrong direction. Here’s another simple algorithm to fix them: Hold the cube with the misplaced edge piece at the front-right position.
Perform the following sequence: (U R U’ R’ F’ R F) – repeat this until the edge is oriented correctly.
Part 4: Practice Makes Perfect (2 Steps)
Refine Your Technique:
Once you have mastered the fundamental steps for solving the Rubik’s Cube, it is important to focus on refining your technique. This can be achieved through consistent practice, as repetition will help to enhance your solving skills. As you become more adept at solving the cube, it is beneficial to concentrate on executing smooth rotations while minimizing unnecessary movements. This will not only contribute to improved speed but also aid in developing an efficient solving style. By dedicating time and effort to practicing and perfecting your technique, you will gradually see progress, allowing you to solve the Rubik’s Cube more efficiently and effectively. With perseverance and dedication, refining your solving technique will not only enhance your ability to solve the cube but also provide a gratifying sense of accomplishment as you continue to improve your skills.
Challenge Yourself:
Conquered the beginner method? The journey doesn’t stop there! Dive deeper into advanced techniques to truly elevate your cubing skills:
Intuitive Solving: Want to ditch memorization? Explore intuitive solving! This approach emphasizes understanding the cube’s mechanics and using logic to solve it on the fly. It takes practice, but the reward is the satisfaction of solving without relying on pre-learned algorithms.
Faster Algorithms: Shave seconds off your time with advanced algorithms! These optimized sequences require memorization but significantly reduce the number of moves needed to solve the cube. Numerous online resources and tutorials offer a wealth of faster algorithms designed specifically for the 2×2.
Remember, solving the 2×2 Rubik’s Cube is a journey, not a destination. Embrace the challenge, have fun with the process, and celebrate every solved cube!