Part 1: Getting Started with the Rubik’s Cube
1. Understanding the Cube:
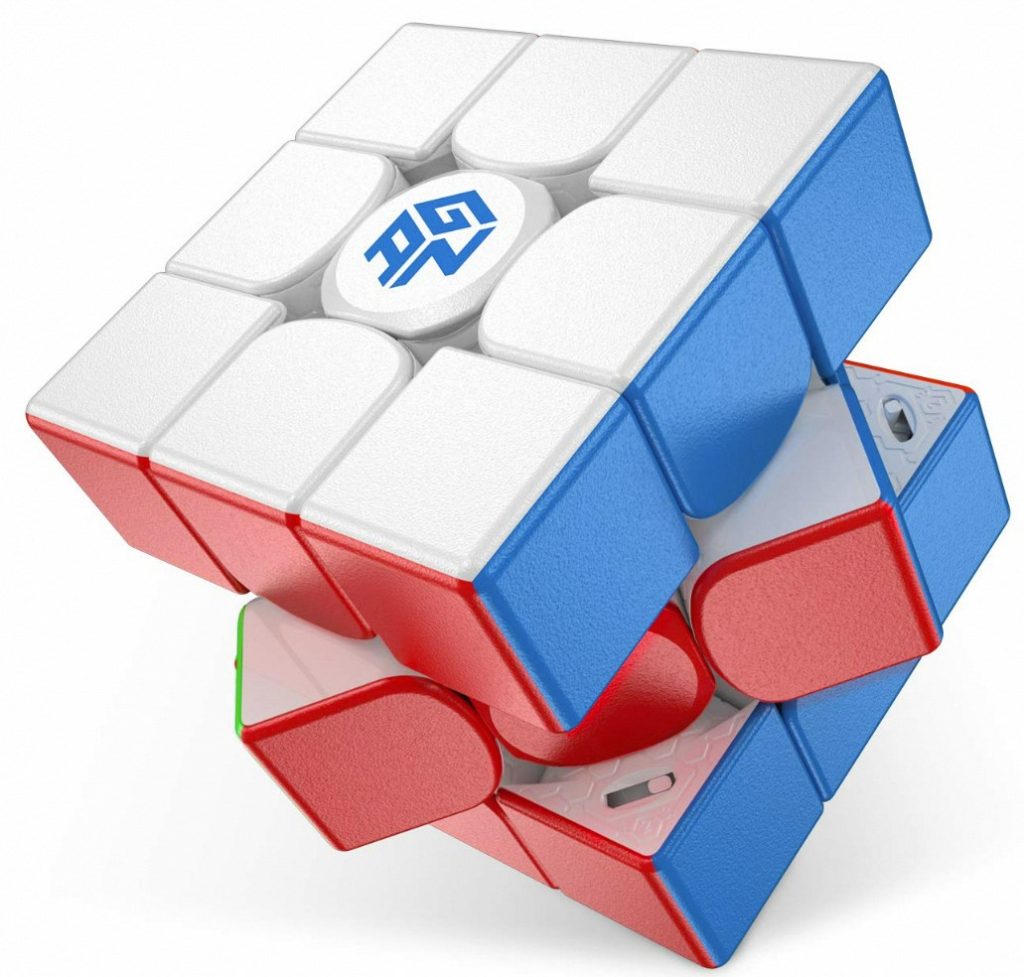
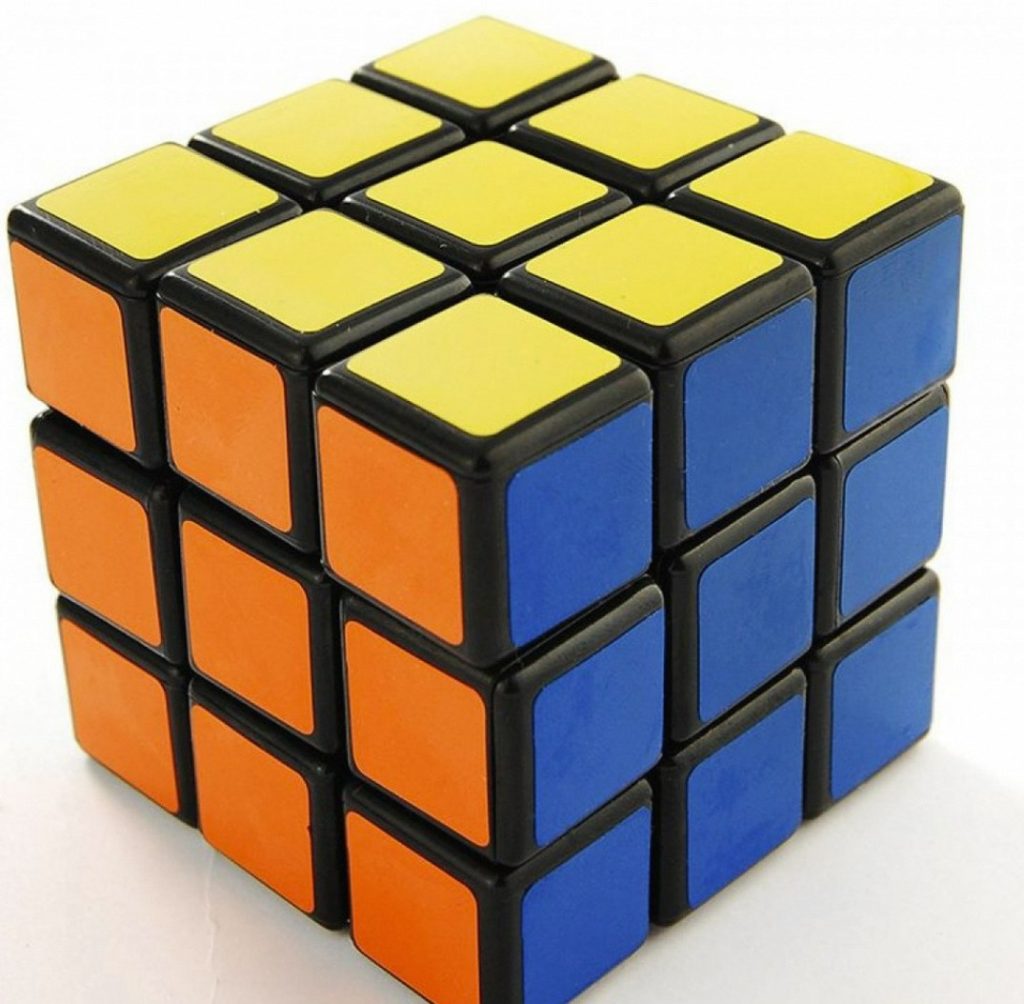
The Rubik’s Cube is an iconic 3D combination puzzle comprised of six faces, each adorned with nine colored squares. As a classic puzzle, its design includes a central rotating axis that enables every face to be independently turned. This distinctive feature grants the Rubik’s Cube its unique nature, setting the stage for the intricate mental challenge it presents to solvers of all levels. With its vibrant hues adorning each face, the intense cognitive task of aligning the colors to form cohesive, singular faces has captivated enthusiasts worldwide since its invention. The cube’s mechanism, governed by precise rotations and sequences, adds to the complexity and allure of solving this enigmatic puzzle. Understanding the cube’s structure and the dynamics of independent face rotations lays the foundation for approaching and unraveling the intriguing intricacies imbued within the Rubik’s Cube, making it a compelling and enduring source of fascination for puzzle aficionados.
2. Notation Basics:
In the realm of Rubik’s Cube algorithms, a distinct notation is employed to describe various types of movements. Typically, this notation utilizes letters that symbolize specific actions on the puzzle. Among the most prevalent notational symbols are F (front), B (back), U (up), D (down), L (left), and R (right). Each letter from this set represents a distinct face of the cube and the associated movement. While executing these movements, each letter can denote either a clockwise turn (e.g., F) or a counterclockwise turn (e.g., F’). The intricate utilization of this notation is pivotal in comprehending and memorizing the sequence of movements required to solve the Rubik’s Cube efficiently. By mastering this notation, individuals gain valuable insight into the nuanced strategies involved in algorithmic execution. This helps in honing their problem-solving skills and elevating their proficiency in navigating the complexities of the Rubik’s Cube solving process.
Part 2: Building the First Layer
1. Forming the White Cross:
The first step in mastering the Rubik’s Cube is to form a white cross on the top face. This necessitates a concerted effort to identify and manipulate the white edge pieces. Utilizing a specific algorithm— a predetermined sequence of moves— is crucial to this process. By executing this algorithm with precision and strategic foresight, the solver positions the white edge pieces. This ensures the white sticker faces upwards while aligning with the corresponding color on the center sticker below. This fundamental step sets the stage for understanding the sequential progression of the Rubik’s Cube solving process and the strategic manipulation of its components.
By mastering the maneuvering of the white edge pieces to organize the white cross on the top face, solvers set the groundwork for successfully completing the cube. They also enhance their spatial perception, algorithmic understanding, and problem-solving skills.
2. Completing the White Corners:
After successfully forming the white cross, the next goal is to position the white corner pieces on the first layer. This step involves employing specific algorithms and strategic maneuvers to place these pieces into their designated slots. With careful maneuvering, the objective is to ensure that the colors on the corner pieces match those of the adjacent center pieces. Solvers can effectively progress towards completing the first layer of the Rubik’s Cube by aligning the corner pieces accurately and in accordance with the color scheme of the cube. This step requires patience and precise execution of algorithms. It is necessary to position the corner pieces correctly to ultimately lay a strong foundation for advancing through the subsequent stages of solving the Rubik’s Cube.
Part 3: Second Layer and Yellow Cross
1. Building the Second Layer:
After completing the white layer, the focus shifts to constructing the middle layer. This phase requires the utilization of specific algorithms to manipulate the edge pieces into their designated locations. These algorithms are crucial in ensuring that the edge pieces align correctly with the center face colors. They set the stage for the successful assembly of the middle layer. By carefully executing these algorithms, solvers can ensure that the edge pieces are positioned accurately. This preserves the integrity of the solved white layer while strategically advancing towards the completion of the middle layer. The utilization of algorithms in this stage not only aids in the placement of the edge pieces but also trains solvers to think critically about the sequence of moves required. This fosters a deeper understanding of the Rubik’s Cube solving process and prepares them for the challenges that lie ahead in the subsequent stages.
2. Solving the Yellow Cross:
Upon successfully completing the first two layers, the focus shifts to achieving the yellow cross on the top layer of the Rubik’s Cube. This stage entails the strategic manipulation of the yellow edge pieces, using specific algorithms to align them in a cross formation. Achieving this requires careful consideration of the orientation of these pieces in relation to the other colored stickers. Adhering to precise algorithms, solvers strategically maneuver the edge pieces to ensure that the yellow stickers align in a cross shape on the top layer, while also considering the correct placement of the adjacent colored stickers. This critical step not only brings solvers closer to successfully solving the Rubik’s Cube but also enhances their spatial awareness, logical thinking, and understanding of the cube’s intricate mechanisms. Mastering this stage demonstrates a keen grasp of the Rubik’s Cube solving process and further enhances one’s problem-solving skills.
Part 4: Finishing the Cube
1. Positioning the Final Corners:
Once the yellow cross is formed, the subsequent goal is to accurately position the yellow corner pieces on the top layer of the Rubik’s Cube. This step involves using specific algorithms to manipulate and orient the corner pieces until the yellow sticker is facing upwards and aligning with the yellow center sticker. By employing these algorithms, solvers can skillfully maneuver the corner pieces to achieve the desired orientation. This ensures that each corner piece correctly aligns the yellow color with the center sticker while retaining the completed yellow cross. This strategic manipulation of the corner pieces paves the way for the successful completion of the Rubik’s Cube. It also enhances the solver’s understanding of the cube’s structure and the principles of spatial relationships, further solidifying their proficiency in solving this iconic puzzle.
2. Aligning the Final Edges:
The last step in solving the Rubik’s Cube is positioning the remaining yellow edge pieces to complete the top layer. By executing specific algorithms, these edge pieces can be maneuvered into their designated slots, ensuring that all colors on the cube are aligned correctly, resulting in the successful completion of the Rubik’s Cube.