Getting Started
In this section, we will discuss the preliminary steps to embark on your DIY teddy bear-making journey.
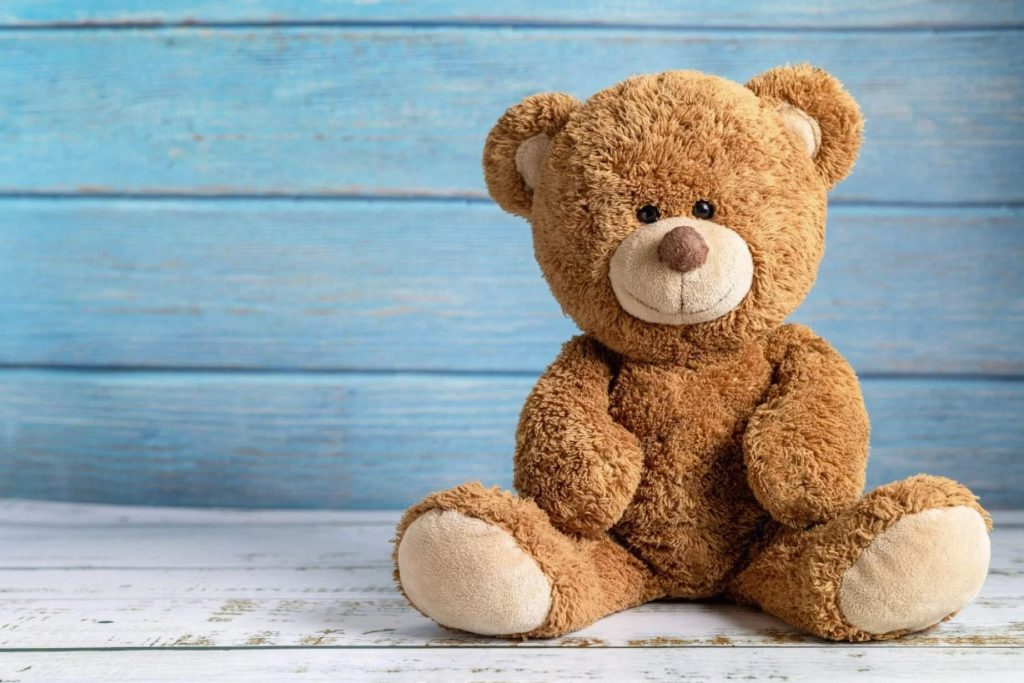
Gather Materials and Tools
Before embarking on your DIY teddy bear-making journey, ensure you have all the essential materials and tools ready. These include fabric, stuffing, thread, needles, scissors, and a sewing machine if you have one. When selecting fabric, opt for a soft and durable option that complements your desired bear design. The right fabric will determine the comfort and longevity of your handmade teddy bear. Take your time to find a fabric that feels pleasant to touch and can withstand the wear and tear of cuddles and playtime. Consider factors such as color, pattern, and texture to make your bear truly special. Remember, the fabric you choose will be the foundation of your creation, so make sure it’s something you love and that inspires creativity.
Find or Create a Pattern
Next, find a teddy bear pattern that suits your style or create your own. There are numerous patterns available online or in craft books. Ensure that the pattern includes clear instructions and all the necessary pieces for constructing the bear.
Cutting and Sewing
In this section, we will explore the steps involved in cutting the fabric and sewing the bear together.
Trace and Cut the Pattern Pieces
Using the pattern, trace the desired pieces onto the fabric, making sure to mark any necessary notches or seam allowances. Carefully cut out each piece, ensuring precision to maintain the bear’s shape.
Sewing the Bear Together
Once all the pieces are cut, start sewing them together according to the pattern instructions. Use a sewing machine or hand stitching, depending on your skills and preferences. Pay attention to details such as seams, joints, and facial features, ensuring secure and neat stitches.
Stuffing and Finishing Touches
In this section, we will cover the final steps of stuffing the bear and adding finishing touches.
Stuffing the Bear
After sewing the bear pieces together, carefully turn the bear right side out. Begin stuffing the bear using polyester fiberfill or any other stuffing material of your choice. Ensure an even distribution of stuffing to create a plump and cuddly bear.
Adding Eyes, Nose, and Other Details
Once the bear is fully stuffed, it’s time to add eyes, nose, and any other desired details. You can use safety eyes, buttons, or hand-stitch embroidered eyes. For the nose, consider using fabric paint or embroidery thread. Personalize the bear with any additional details like bows, clothing, or accessories.
Care and Enjoyment
In this final section, we will discuss caring for your handmade teddy bear and the joy it brings.
Proper Care and Maintenance
To keep your handmade teddy bear looking its best, follow proper care instructions. Spot clean as needed or gently hand wash using mild detergent if the fabric allows. Avoid exposing the bear to excessive sunlight or moisture to prevent color fading or damage.
Cherishing the Handmade Bear
The joy of making your own teddy bear extends beyond the creation process. Cherish the bear, knowing every stitch was made with love and creativity. Gift it to a loved one or keep it as a cherished memento. Handmade bears hold sentimental value and can become treasured heirlooms.
In conclusion, creating your own teddy bear through DIY methods is a delightful endeavor. With the right materials, tools, and pattern, you can bring a cuddly companion to life. Enjoy the satisfaction of crafting a unique bear and the joy it brings as a cherished handmade creation.


